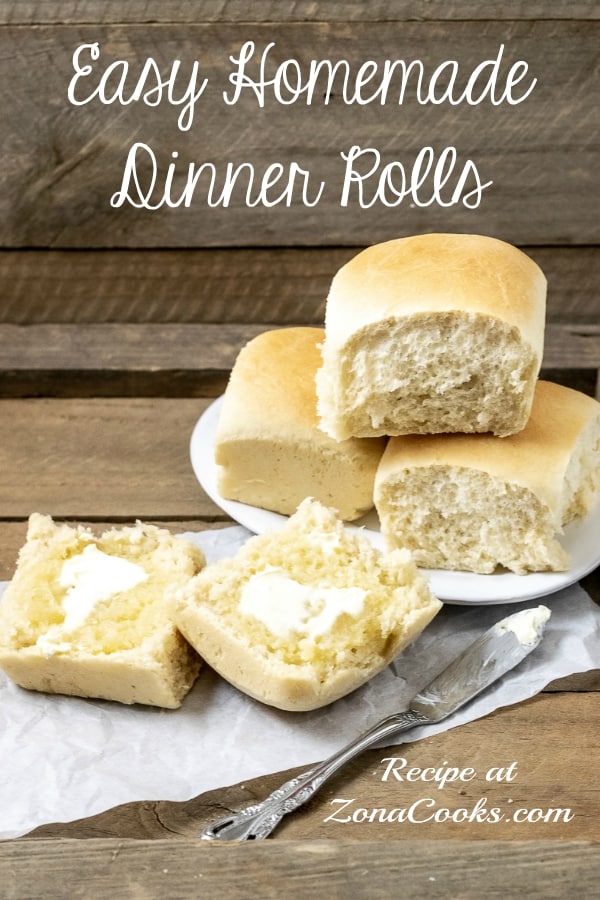
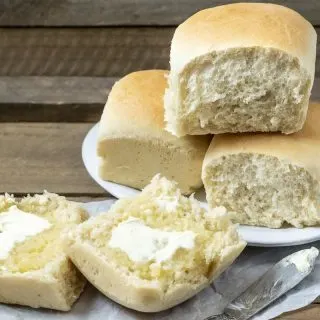
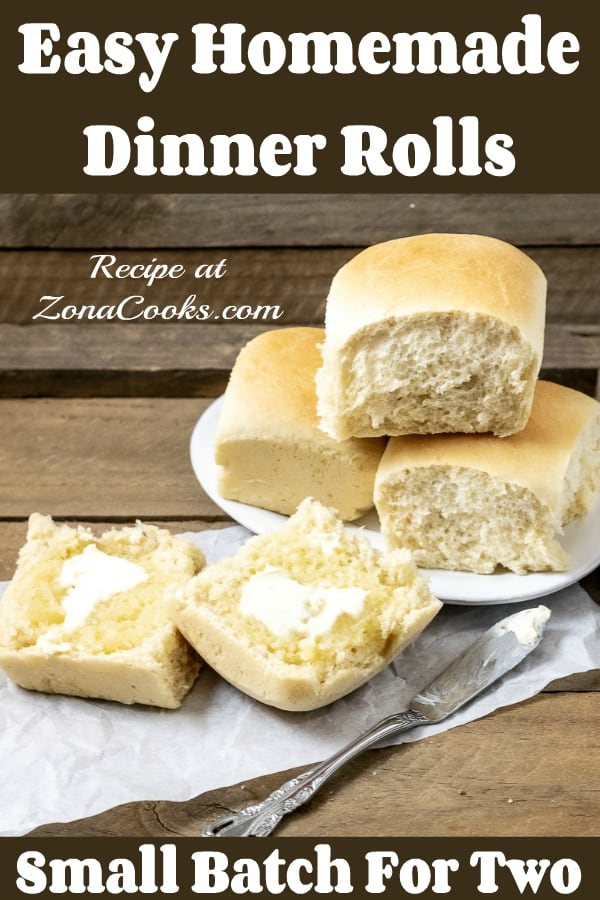
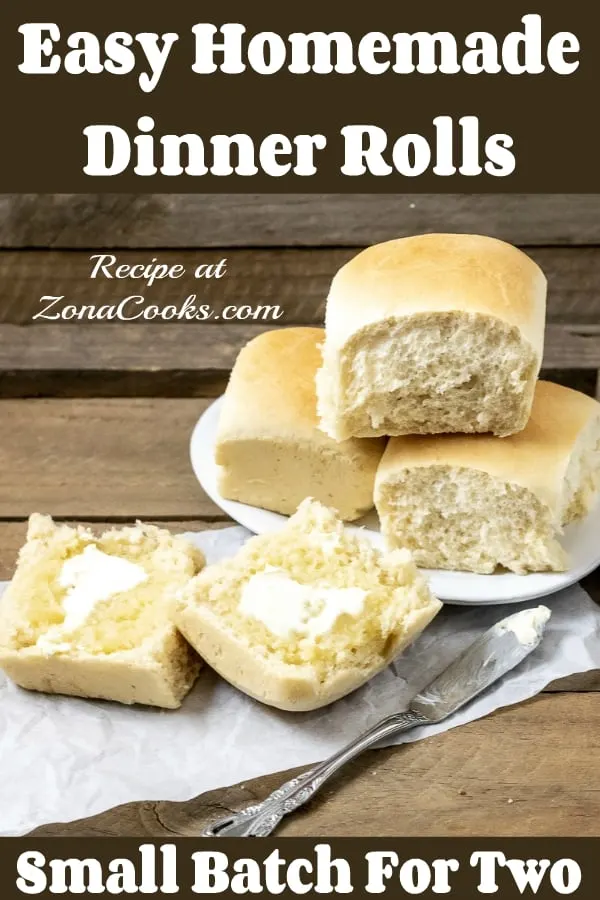
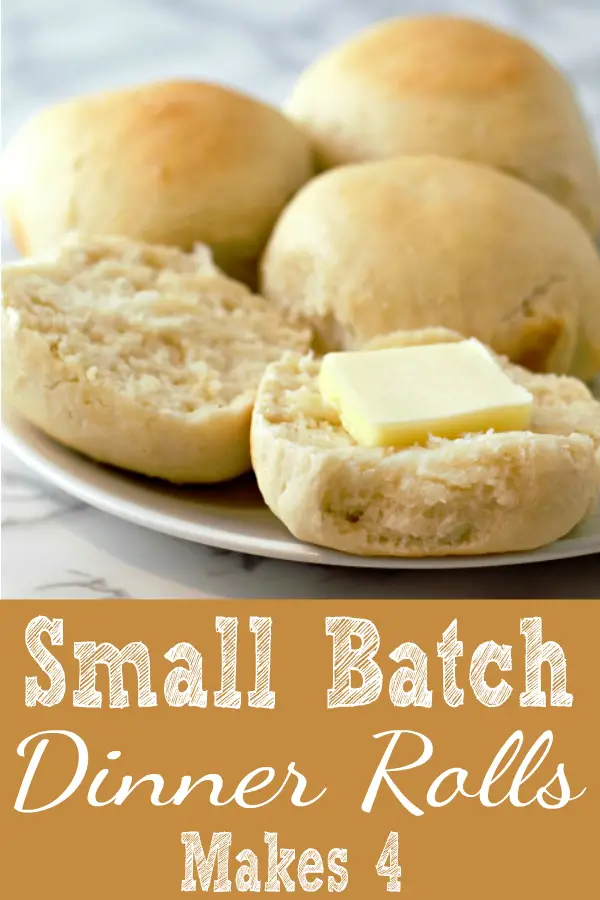
The best easy Homemade Dinner Rolls smell and taste amazing! This small batch of buttery rolls bakes up soft and tender.
Table of Contents
This easy recipe makes just 4 rolls and is a perfect side dish for so many recipes ranging from easy weeknight casseroles, steak, chicken, pork or Thanksgiving Dinner for two.
As an Amazon Associate, I may make a small commission, at no additional cost, if you purchase through product affiliate links in this post.

How to make Bread Buns
Preheat the oven to 170 degrees F. This is for allowing the dough to rise.
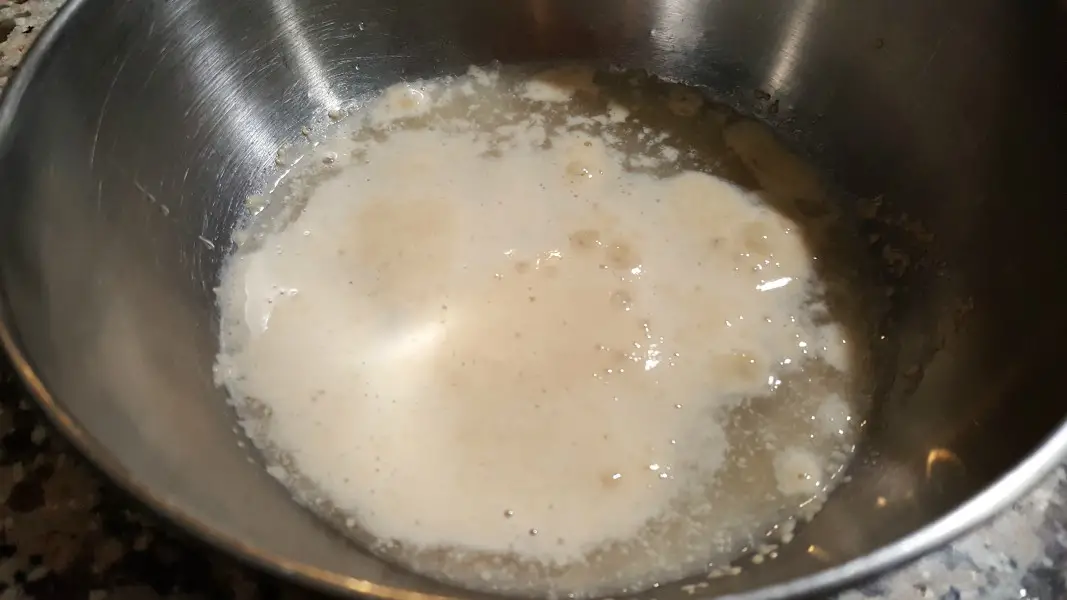
Place the water, sugar, and yeast in the bowl of a stand mixer. Let it stand for 15 minutes to activate the yeast. It will be bubbly and frothy. The water temp is right when the water feels just barely warm to your finger. Water that is too hot will kill the yeast and too cold won’t activate it.

Add in the 2 tablespoons of melted butter, salt, and flour. Attach the dough hook to the mixer and set the speed button to the slowest speed to begin mixing the dough, for about 30 seconds.
Move the speed button up one click and continue mixing for another 30 seconds.
Bring the speed button up one more click and mix until the dough comes together. It will form a ball and the sides of the bowl will be mostly clean with no dough sticking to them.
If the dough is too wet, add in some flour, one tablespoon at a time. If it’s too dry, add in some water, one tablespoon at a time.
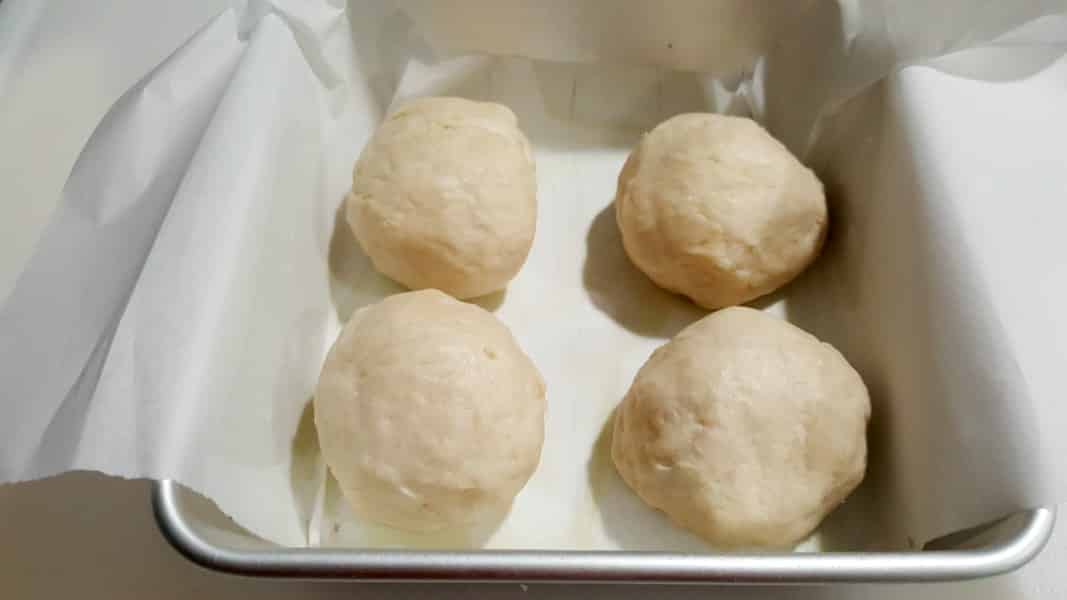
Place the dough on a cutting board and cut it into 4 equal parts. Roll each piece into a ball using your hands.
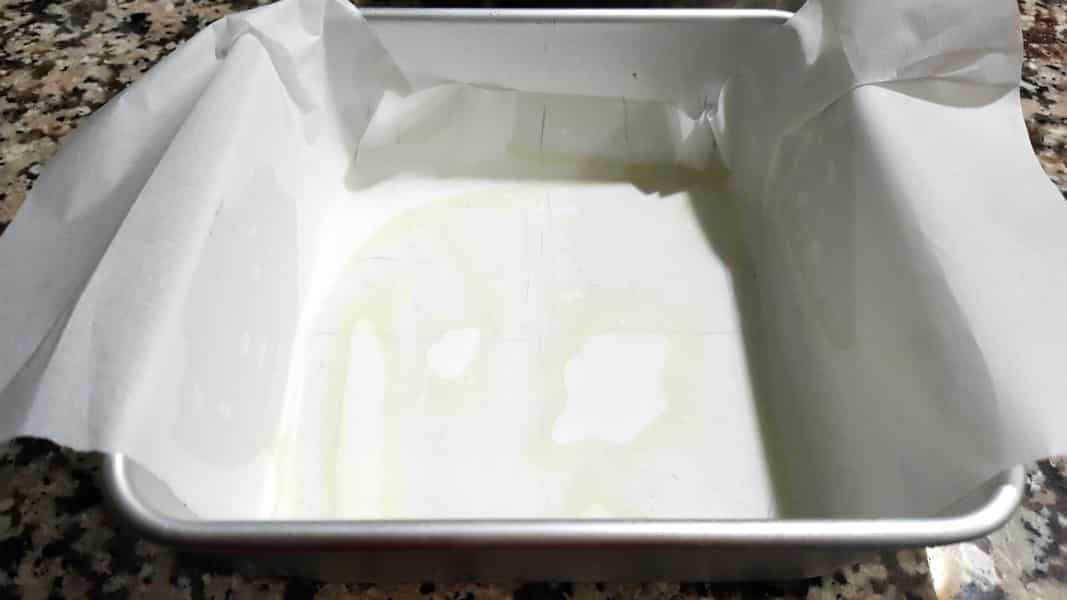
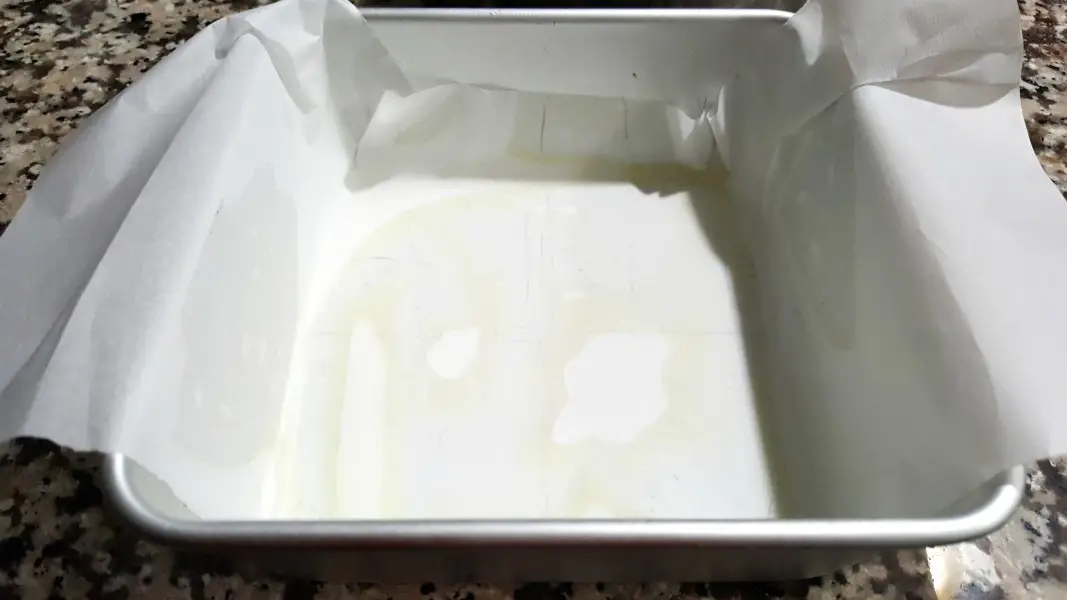
Spray a 6 x 6 cake pan with non-stick spray.
Cut some parchment paper into a 6 x 12-inch strip and fit it into the cake pan, leaving an inch sticking up out of the pan on each side. Spray again with non-stick spray.
Set the 4 dough balls into the cake pan. Cover with a fine-weave tea towel.
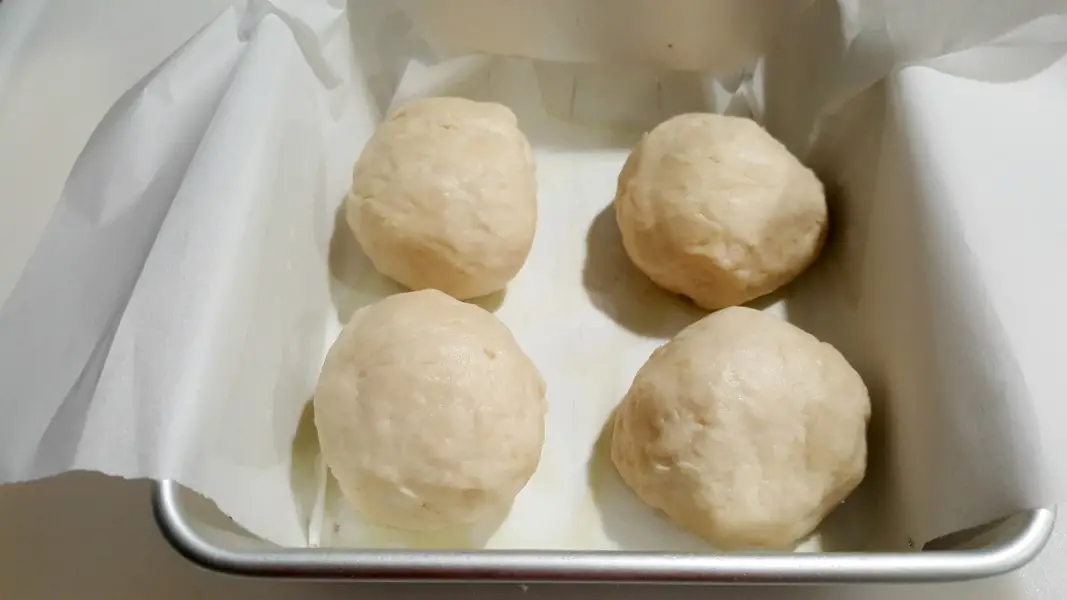
Turn off the oven and place the cake pan inside. Allow the dough to rise there for 30-45 minutes.
Remove the cake pan from the oven and preheat it to 375 degrees F.
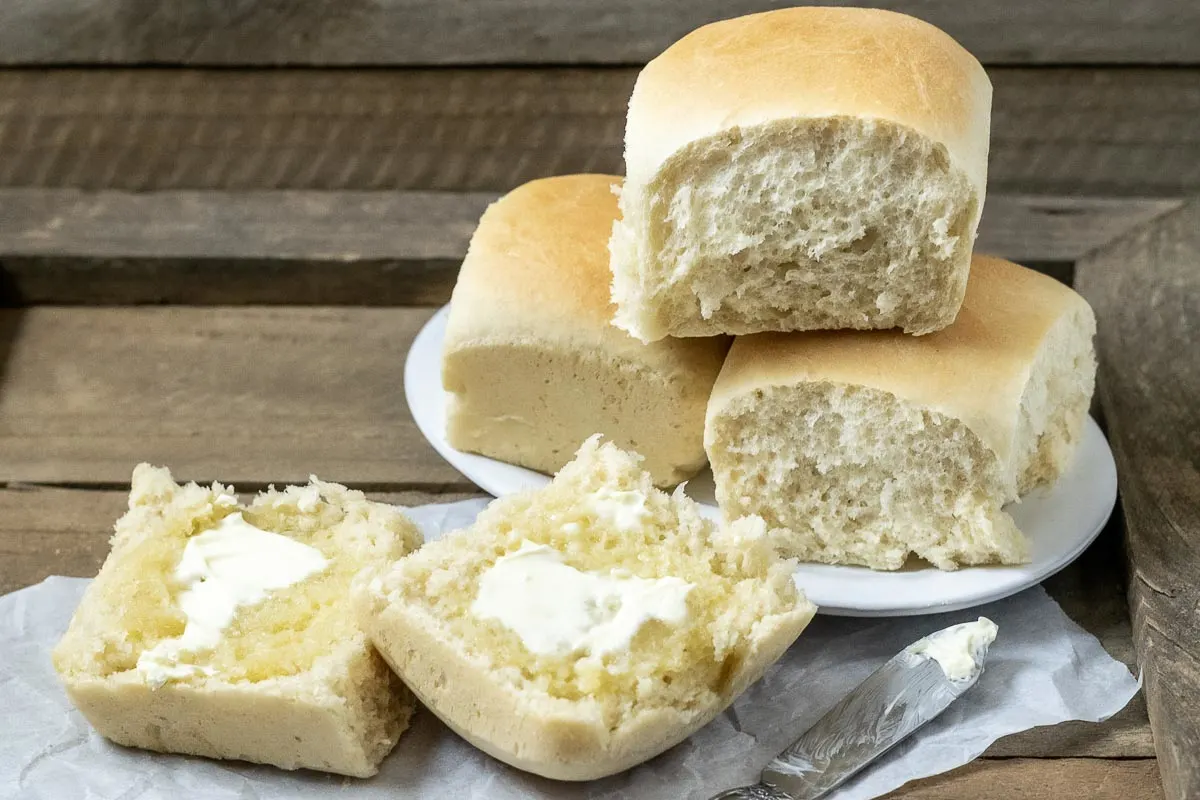
Bake the rolls for 20 minutes.
Remove from the oven and brush with melted butter.
Use the parchment to easily lift the rolls out of the pan. Allow to cool for at least 5 minutes on a wire rack.

You may also enjoy


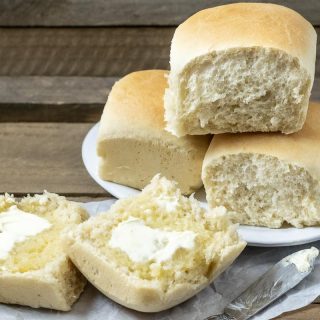
Dinner Rolls Recipe
Ingredients
- ½ cup warm water (see notes)
- 1 Tablespoon sugar
- 1 teaspoon active dry yeast
- 2 Tablespoons melted butter
- ½ teaspoon salt
- 1 ⅓ cups all-purpose flour
- 1 Tablespoon butter (melted after baking)
Instructions
- Preheat the oven to 170 degrees F. This is for allowing the dough to rise.
- Place the water, sugar, and yeast in the bowl of a stand mixer. Let it stand 10 minutes to activate the yeast. It will be bubbly and frothy.
- Add in the 2 tablespoons of melted butter, salt, and flour. Attach the dough hook to the mixer and set the speed button to the slowest speed to begin mixing the dough, for about 30 seconds.
- Move the speed button up one click and continue mixing for another 30 seconds.
- Bring the speed button up one more click and mix until the dough comes together. It will form a ball and the sides of the bowl will be mostly clean with no dough sticking to them.
- If the dough is too wet, add in some flour, one tablespoon at a time. If it’s too dry, add in some water, one tablespoon at a time.
- Place the dough on a cutting board and cut it into 4 equal parts. Roll each piece into a ball using your hands.
- Spray a 6 x 6 cake pan with non-stick spray.
- Cut some parchment paper into a 6 x 12 inch strip and fit it into the cake pan, leaving an inch sticking up out of the pan on each side. Spray again with non-stick spray.
- Set the 4 dough balls into the cake pan. Cover with a fine-weave tea towel.
- Turn off the oven and place the cake pan inside. Allow the dough to rise there for 30 minutes to 1 hour.
- Remove the cake pan from the oven and preheat it to 375 degrees F.
- Bake the rolls for 20 minutes.
- Remove from the oven and brush with melted butter.
- Use the parchment to easily lift the rolls out of the pan. Allow to cool at least 5 minutes.
Video
Notes
- The water temp is right when the water feels just barely warm to your finger. Water that is too hot will kill the yeast and too cold won't activate it.
- To make this vegan use vegan butter
Nutrition


Hi, and welcome. I’m Zona, and I have a passion for recipes. I share recipes, tips, tricks, and resources to help you cook for two. Eat, drink, and enjoy!

Lori
Thursday 26th of November 2020
I’ll be making these rolls for Thanksgiving, but my question is why do you activate your yeast in this recipe, but not your small loaf bread? Does it have to do with the length of time in the oven proofing? My bread didn’t stay tall after cooling. Tastes great, tho.
Lori
Thursday 26th of November 2020
@Zona, thanks! Happy Thanksgiving!
Zona
Thursday 26th of November 2020
Hi Lori, activating yeast is really just a test to ensure your yeast is alive and working. If something doesn't look like it's risen enough, then we have to let it rise more. Unfortunately yeast works on it's own timeline and if something needs to double, we need to wait for it to double even if the recipe only says it takes an hour. Old yeast can also prevent dough from working the way we want it to. I want to do some more recipe testing on my small loaf bread too but I'm happy you enjoyed the taste :)
karen
Sunday 16th of August 2020
I would like to sign up to recieve emails with your recipes I love the ones that a small batch
Jackie
Tuesday 14th of July 2020
Can I freeze these dinner rolls? Should I freeze them before or after allowing them to rise? Or should I completely bake them and treat them like brown and serve type rolls?
Zona
Tuesday 14th of July 2020
Hi Jackie, I think it would be best to bake them first, then freeze after they have cooled completely.
Vanessa
Thursday 28th of May 2020
Thank you for these. I have made them today and they were so easy to follow and so good. They didn’t rise as much but taste amazing. This is now a favourite.
Zona
Friday 29th of May 2020
Hi Vanessa, you can always let them rise longer if you have more time. I'm so happy you enjoyed them :)
Mary
Saturday 21st of December 2019
I have made these small batch dinner rolls several times. They turn out perfectly every time. Great recipe
Zona
Saturday 21st of December 2019
Hi Mary, that is wonderful to hear. We love them too. Thank you so much for the comment :)